Sketchware for beginners lessons 3 (map)
HashMap in java | Map in sketchware
*Note : Due to some reasons previous lessons are not posted here but you can find their video on our YouTube channelPreviously we have learned String, Boolean and Number variables in sketchware, Now it's time for map.
If we create a map named myMap in sketchware it generates this code
private HashMap myMap = new HashMap<>();
from this we know that in sketchware map is actually a HashMap
What is HashMap?
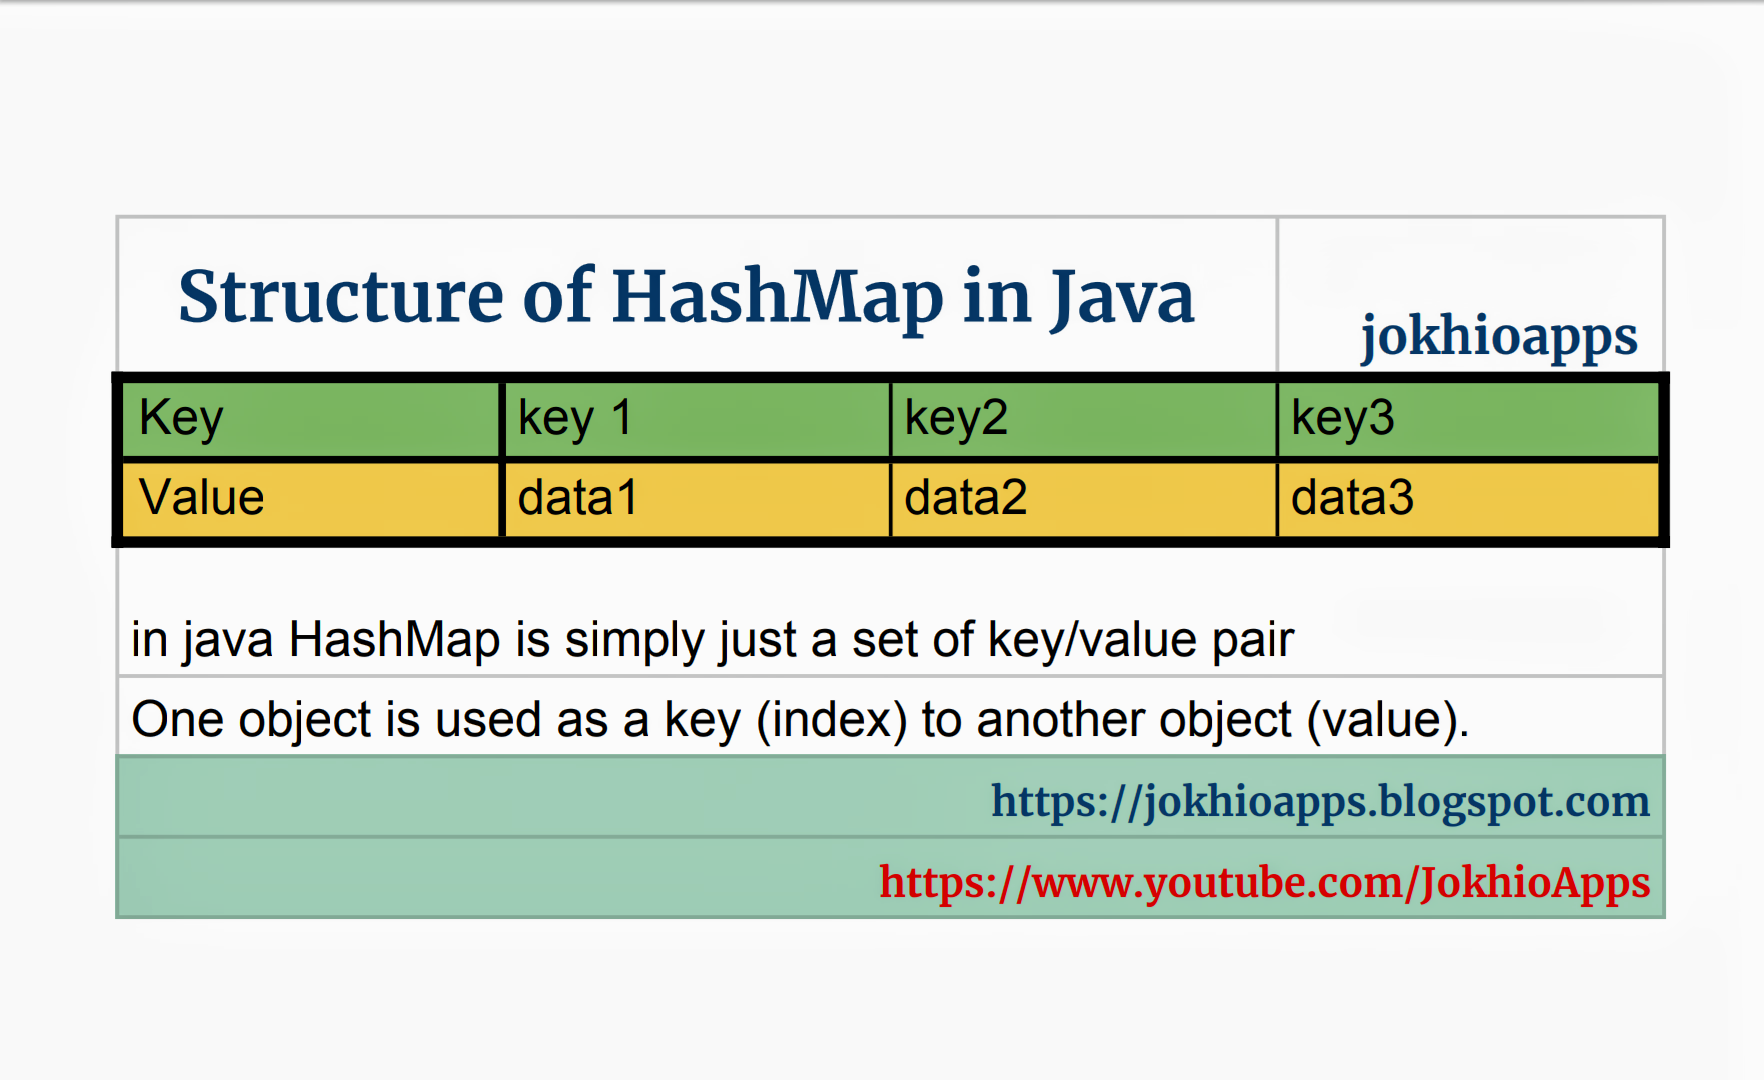
Arrays store items as an ordered collection, and you have to access them with an index number (int type). A HashMap however, store items in "key/value" pairs, and you can access them by an index of another type (e.g. a String).One object is used as a key (index) to another object (value). It can store different types: String keys and Integer values, or the same type, like: String keys and String values
Let's get our hands on Map
Declare the HashMap Variable.
Now you can start putting values in the Map

You can put any kind of object that can be converted to the string such as a Number.
string1 = "I'm a string"; string2 = "I'm another string"; number1 = 255; map = new HashMap<>(); map.put("key1", "values"); map.put("key2", string1); map.put(string1, string2); map.put("key3", String.valueOf(number1)); This is the code generated by those blocks
      string1 = "I'm a string";

string2 = "I'm another string";

number1 = 255;

map = new HashMap<>();

map.put("key1", "values");

map.put("key2", string1);

map.put(string1, string2);

map.put("key3", String.valueOf(number1));

myMap.put("key3", String.valueOf(number1));
in the new code this line is new additionmyMap.put("key3", String.valueOf(number1));
By comparing both you can figure out that map and myMap or the names of variables created by us and HashMap's method .put() is used to add values.
Now this is our layout after adding all needed things
And below are the codes placed on onCreate, and the Buttons
For further details watch the video
I hope this post will help you guys Thank you
Bakar Khan
JokhioApps


0 Comments